
THE MAKING PROCESS

It all starts with pencil and paper…. a design is made (in this case a petty)

The drawing is then traced and drawn into an autoCAD drawing program so it is ready in digital form to be send to the steel cutter.

All steel is sourced from Scandinavia. The blades are cut using a water jet—a high-pressure stream of water mixed with fine abrasive sand that slices cleanly through the metal. After cutting, the steel is sent for heat treatment. This hardening process is essential: without it, knife steel would remain too soft to hold a sharp edge and wouldn’t be suitable for making knives.
On this BBQ slicer, the heat treatment has left visible marks
When the knife returns from heat treatment, I begin the next stage of work. The process often leaves the blade slightly warped, so both sides are carefully sanded to make it perfectly flat. This step also removes the outer scale formed during heat treatment, revealing clean steel underneath.

Some machinist blue is brushed on the side of the knife where the edge will be. A line is scratched in the middle, thats where the cutting edge will be.

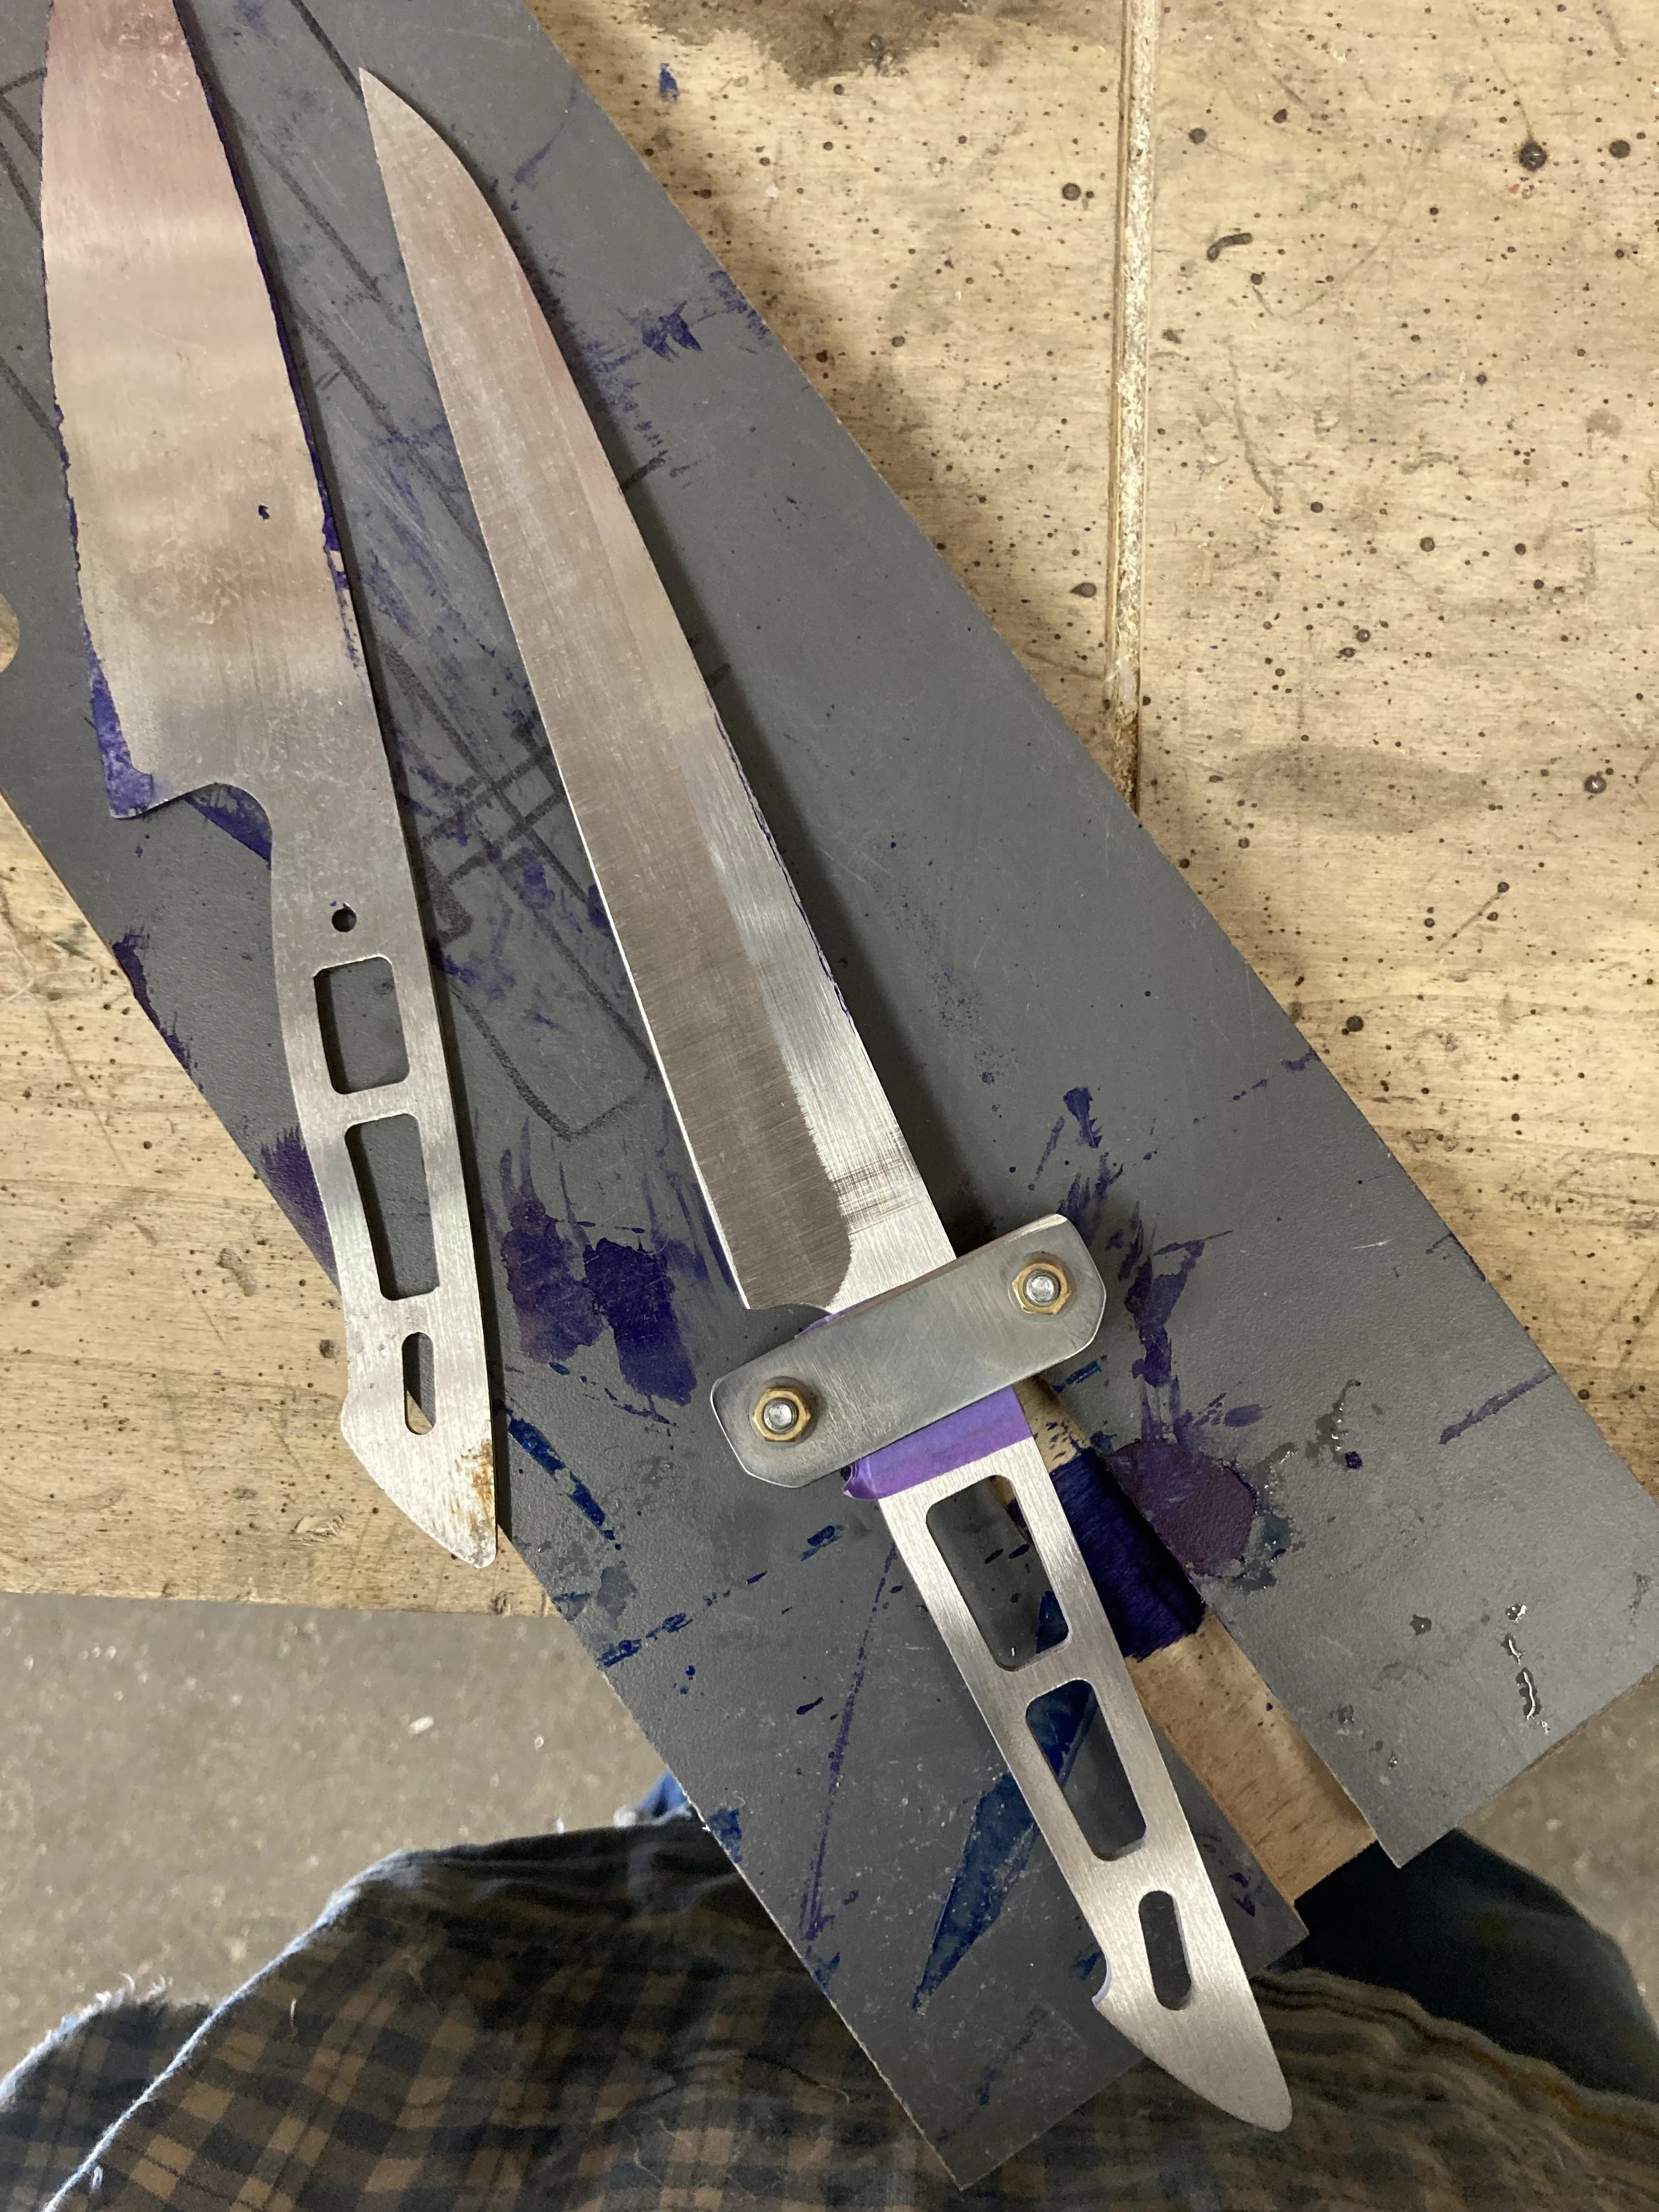
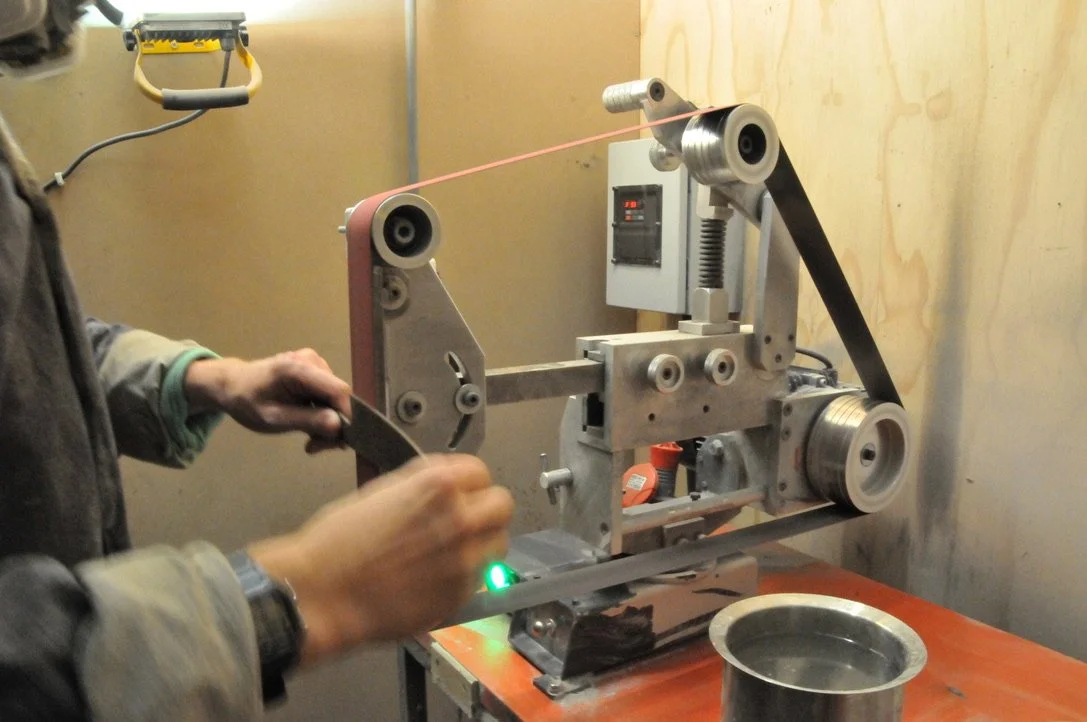
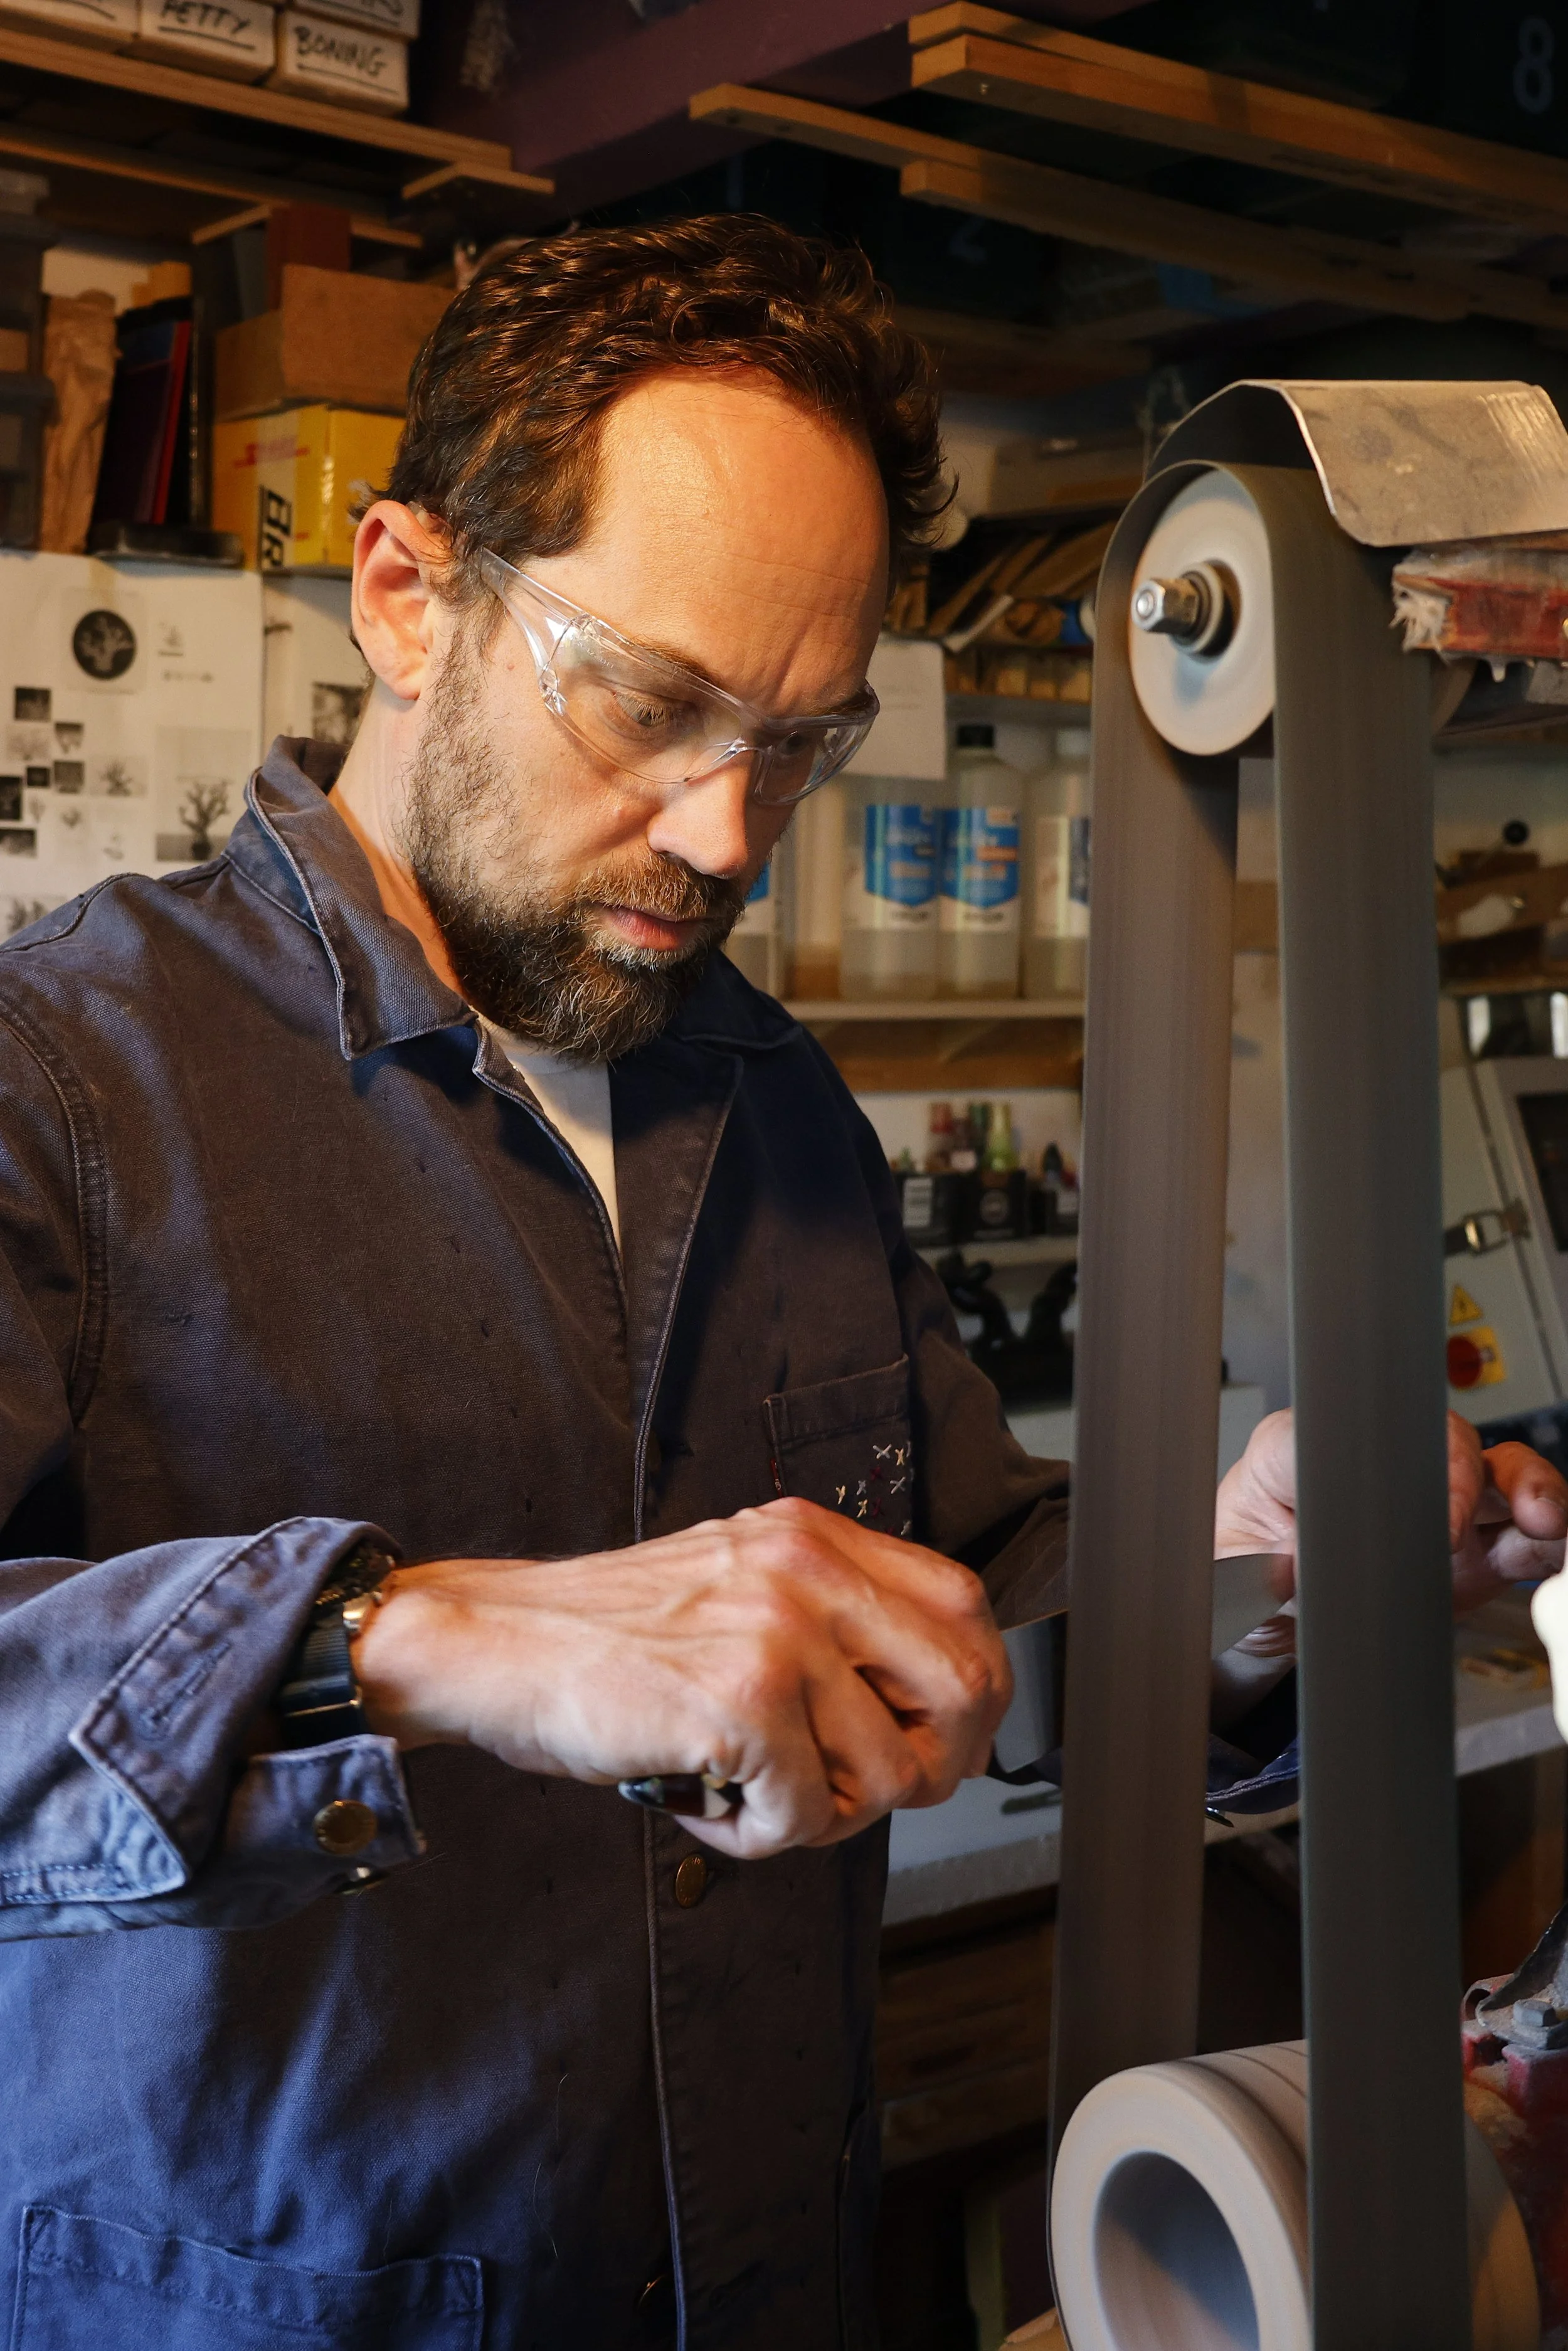
Two small metal plates are mounted on the knife to act as a grinding guide. They define the transition between the handle and the blade. With these in place, the grinding process begins. Bit by bit, the excess steel is removed using a belt sander, with constant cooling to prevent overheating—since too much heat can cause the blade to lose its hardness.
Grinding begins with coarse-grit belts, gradually moving to finer grits as I shape the blade closer to the edge. The finer the belt, the finer the scratches—each step refining the surface and bringing the geometry closer to its final form.
The blade spine is rounded off for more comfortability.

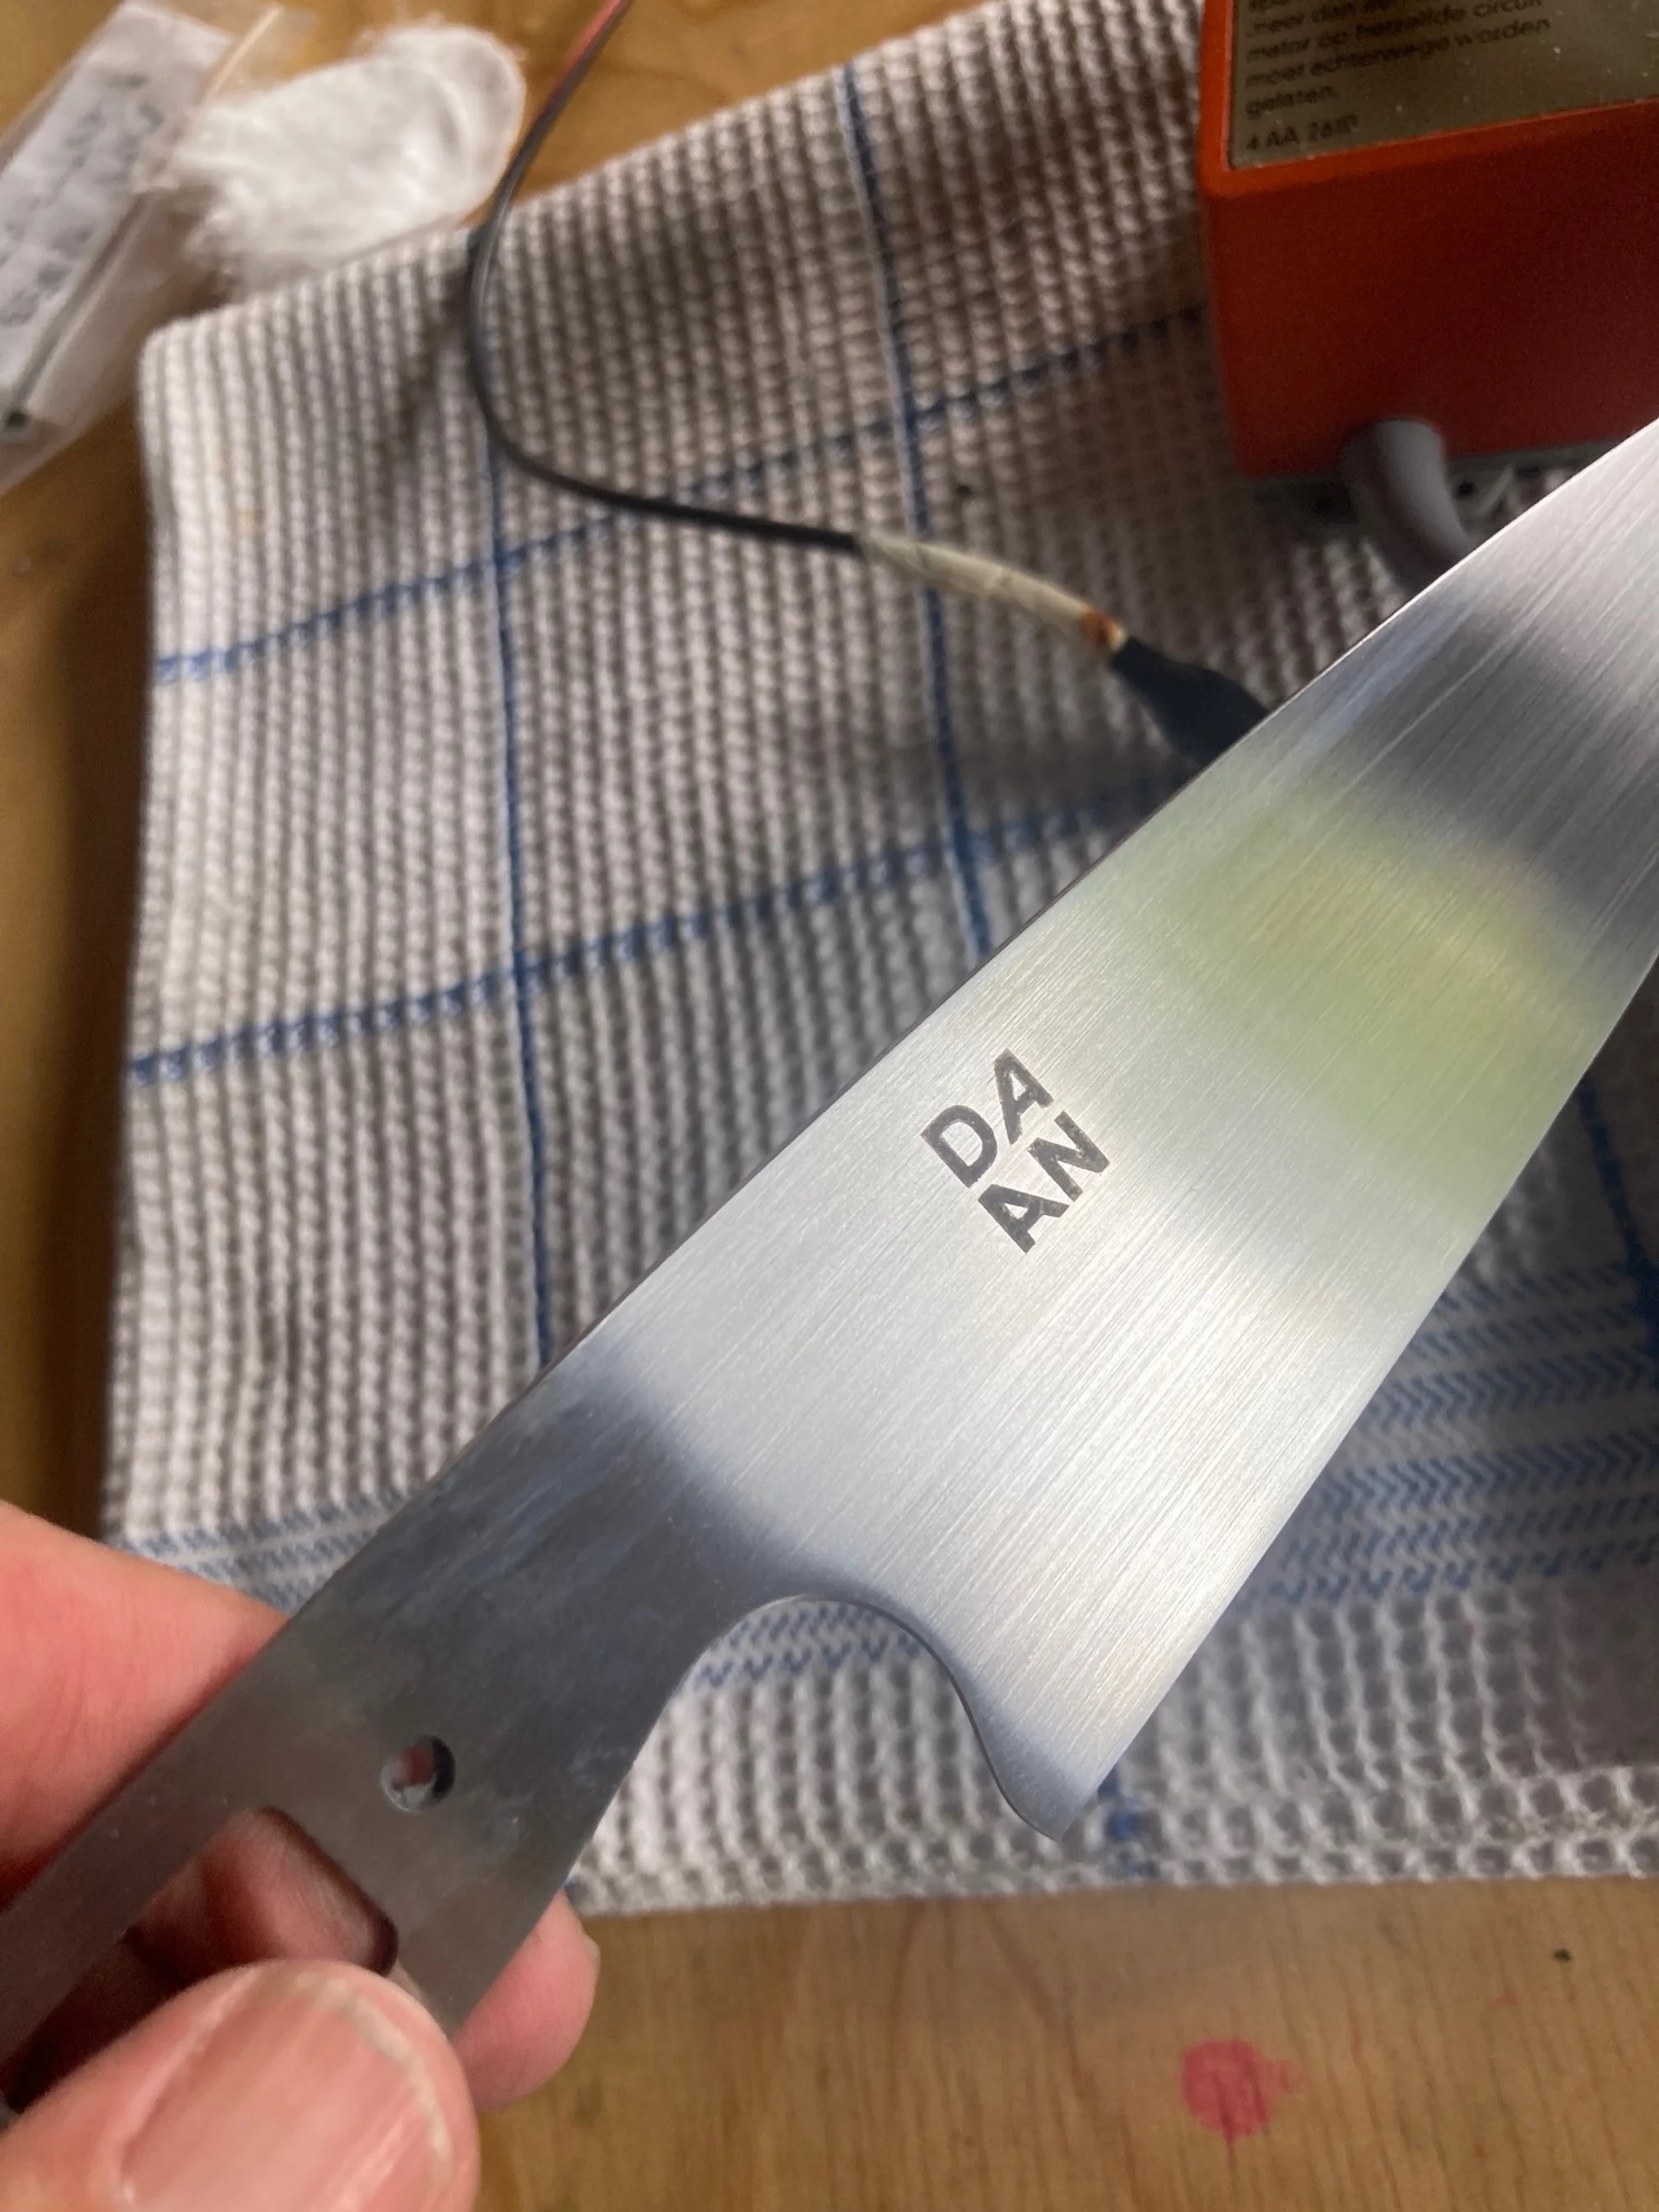
The logo is etched onto the blade.

The blade is now ready for its handle
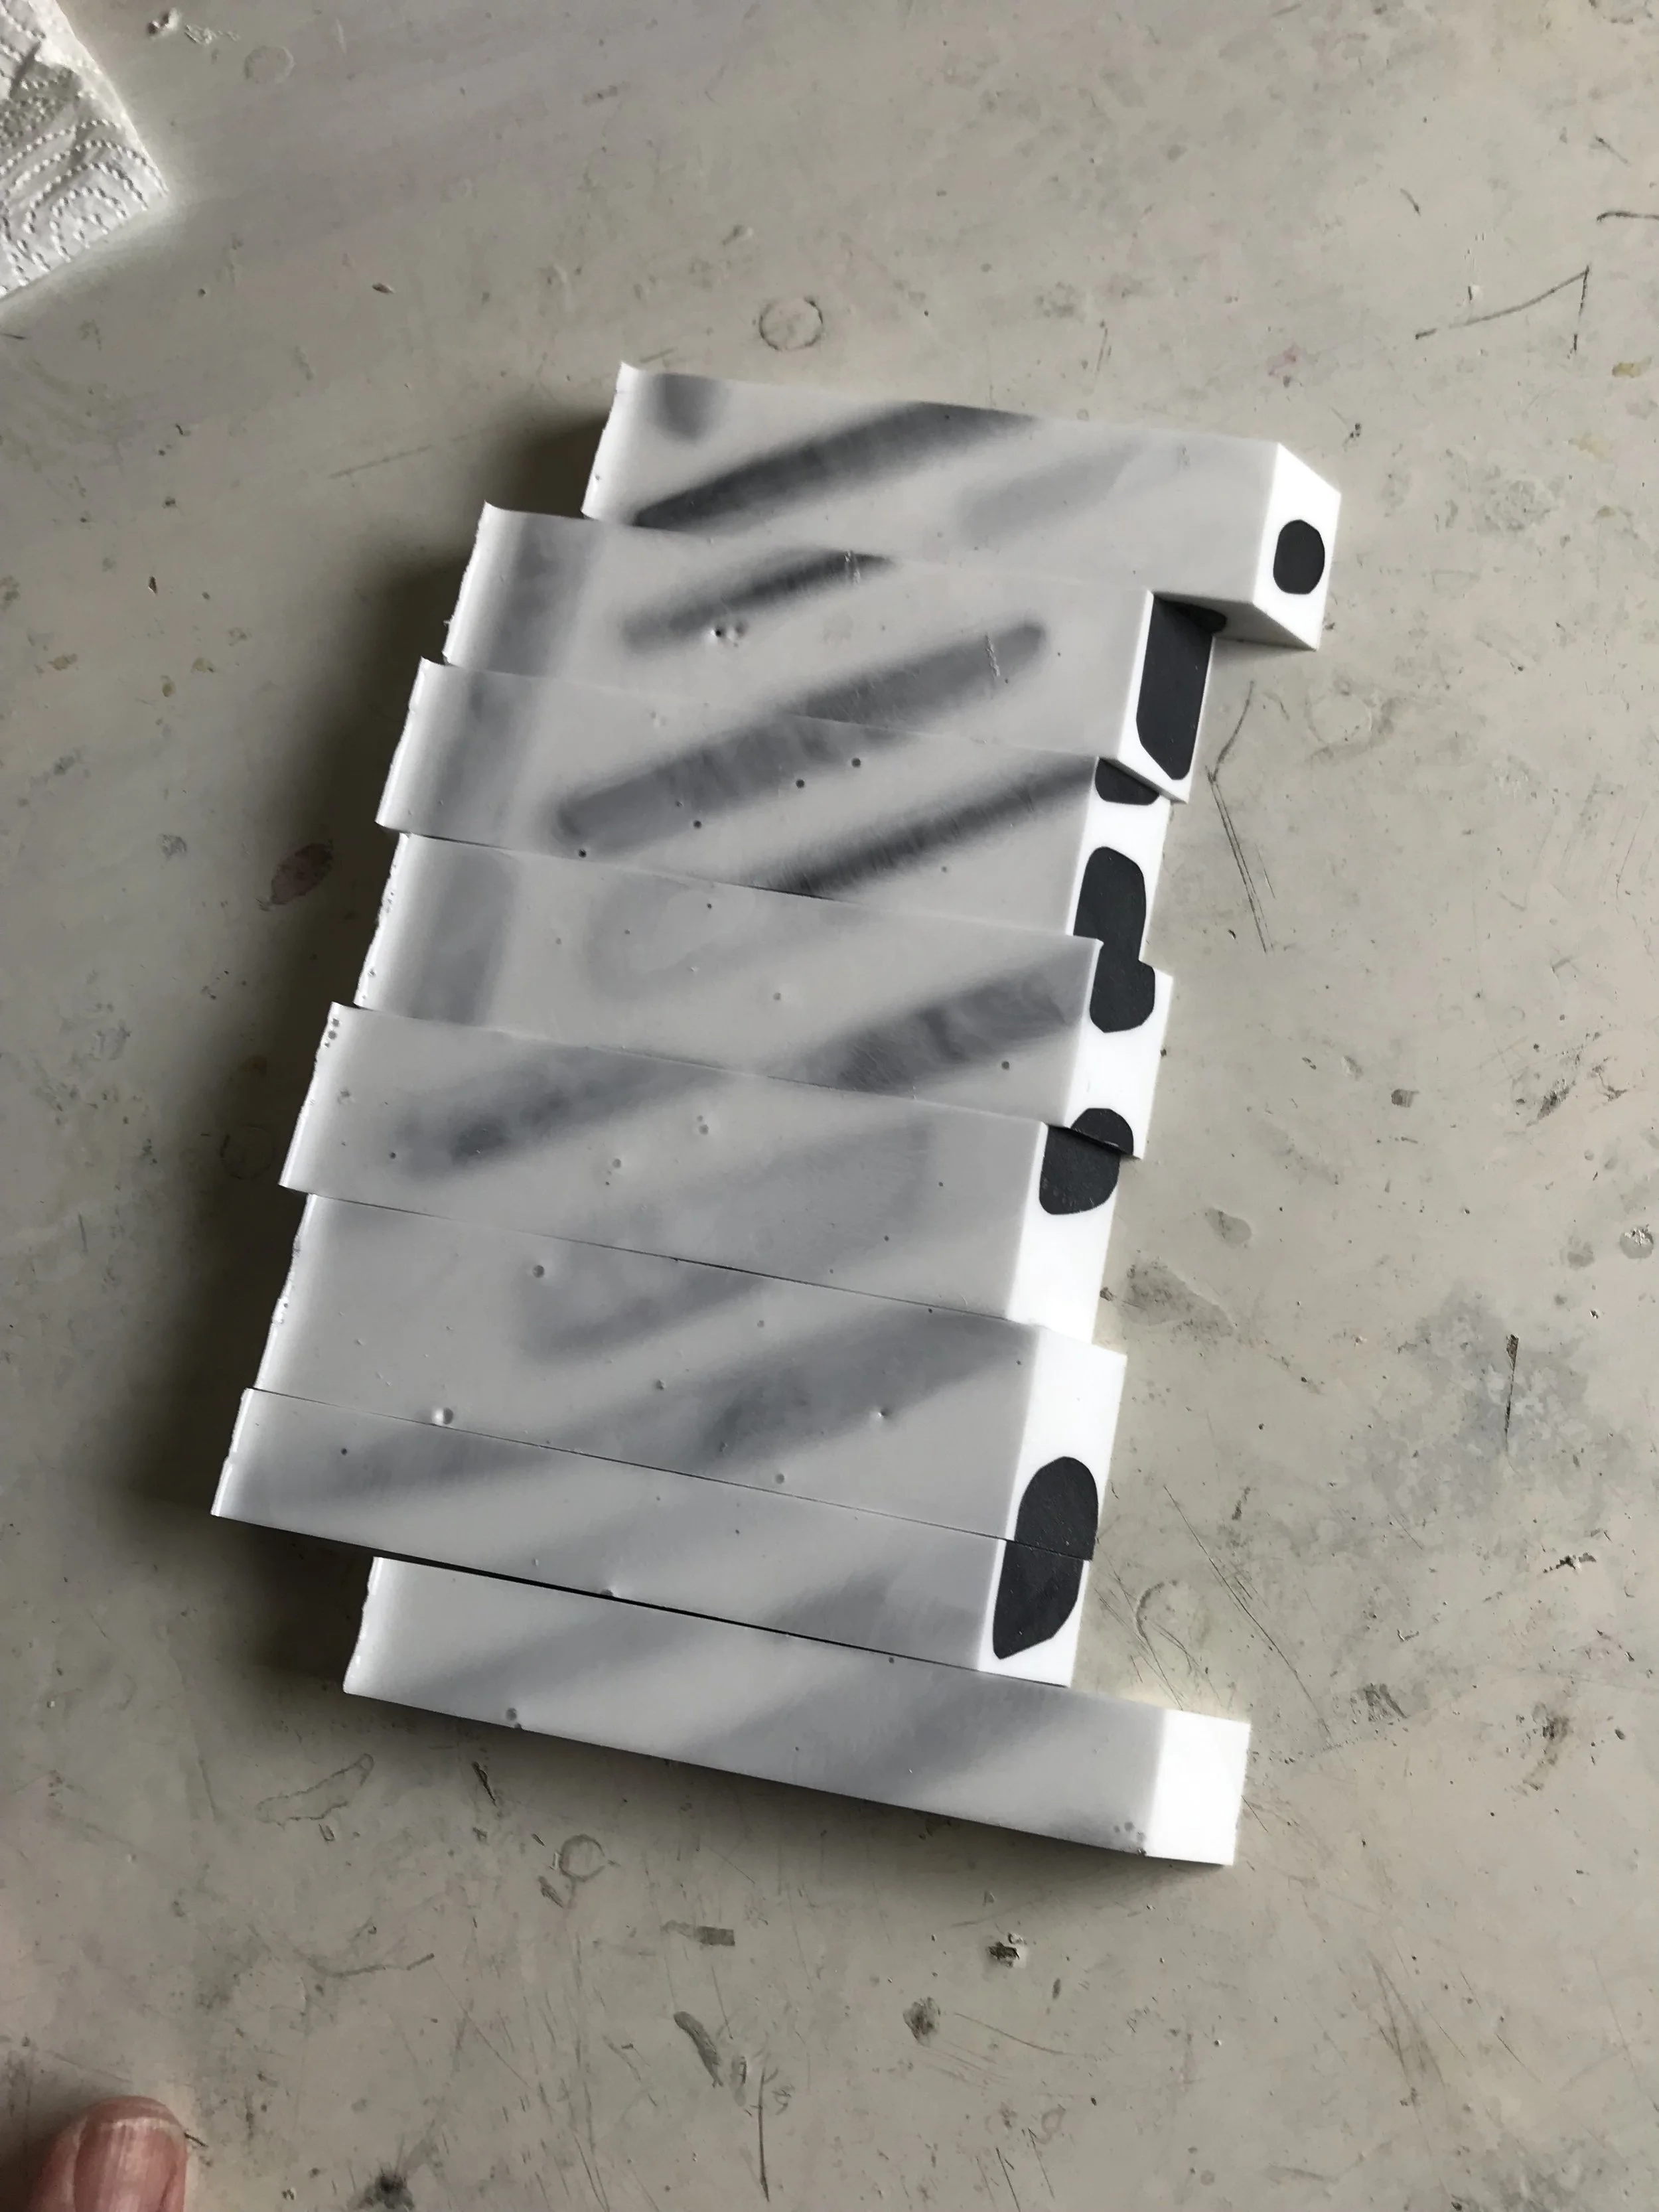
A piece of stabilized wood or custom-cast resin is cut to the right dimensions.

The section nearest the blade is cut at a 45-degree angle, creating a comfortable transition for your fingers where the blade meets the handle.

Each piece is drilled with two holes where the rivets will later secure the handle to the blade.

After cleaning, the handle scales are glued into place and the rivets are fastened


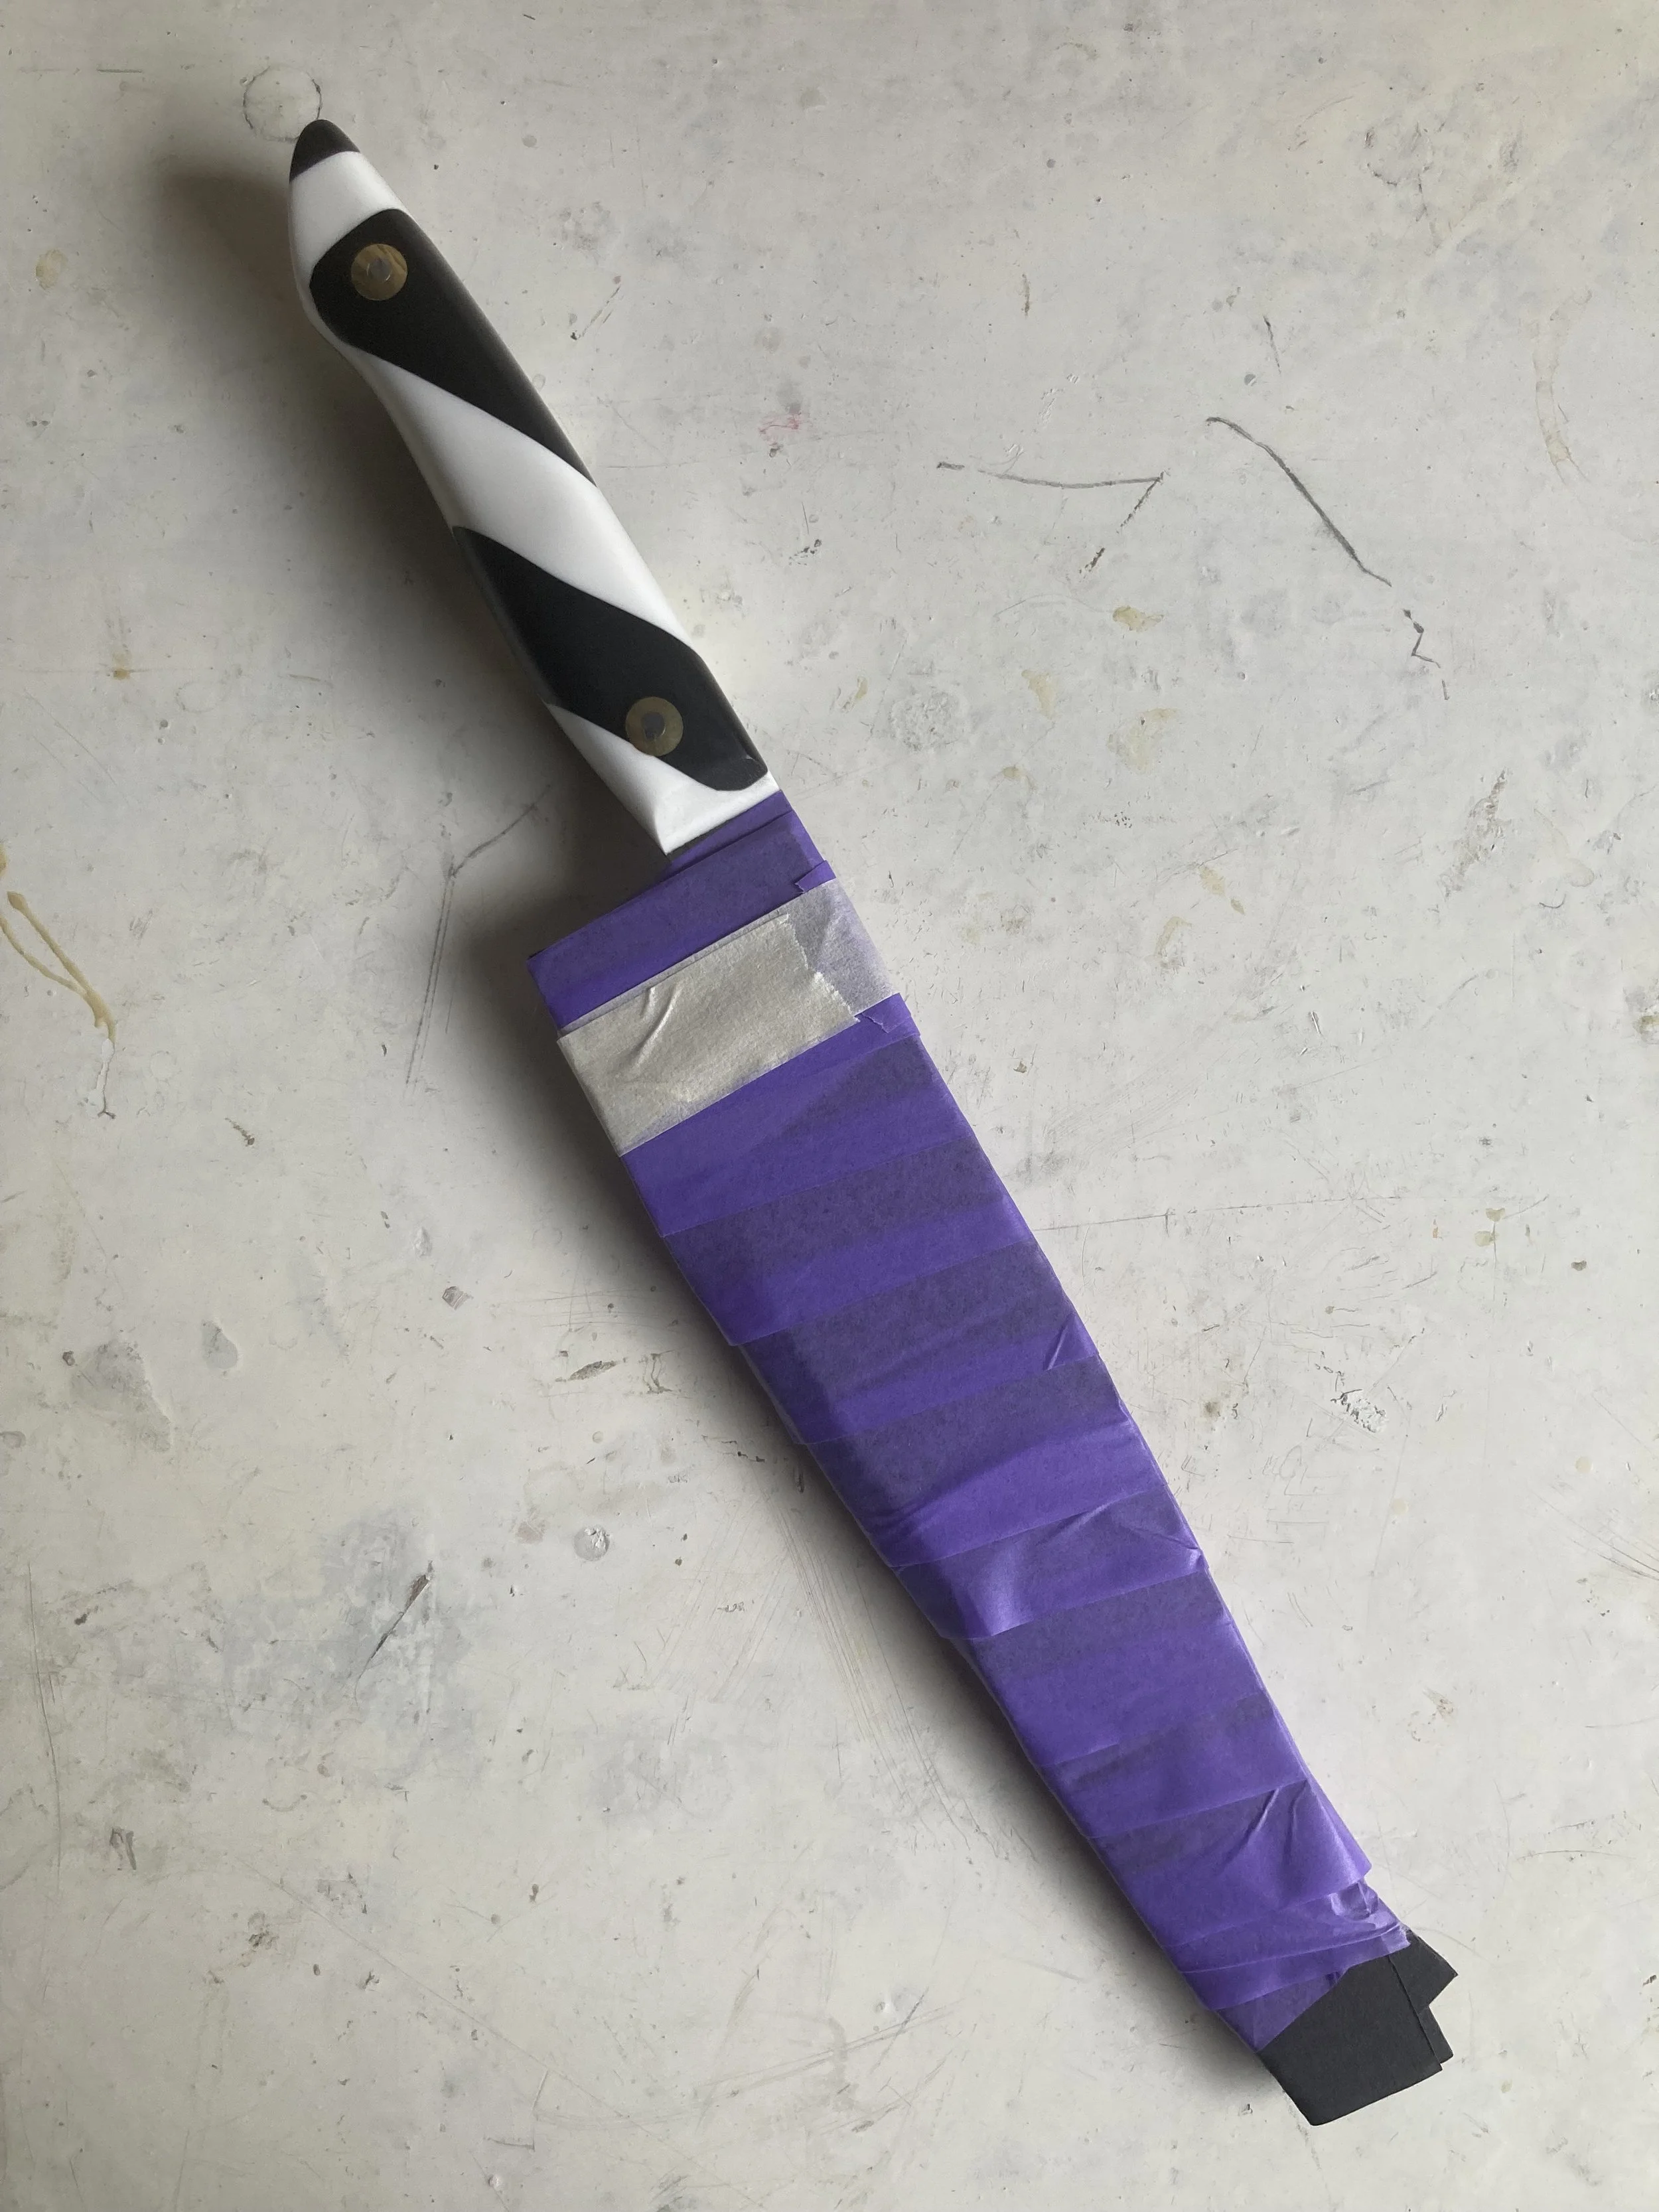
To protect the blade, the blade is covered in soft cardboard and wrapped with tape

An outline of the preferred handle shape is drawn on the back of the handle. Rough grinding then begins on the belt grinder, following this shape.


Once the basic form starts to take shape, I switch to hand-sanding—starting with a coarse grit and gradually moving to finer grits.
Polishing paste is added and buffing begins..

Until a shiny handle appears..
The Blade is sharpened..
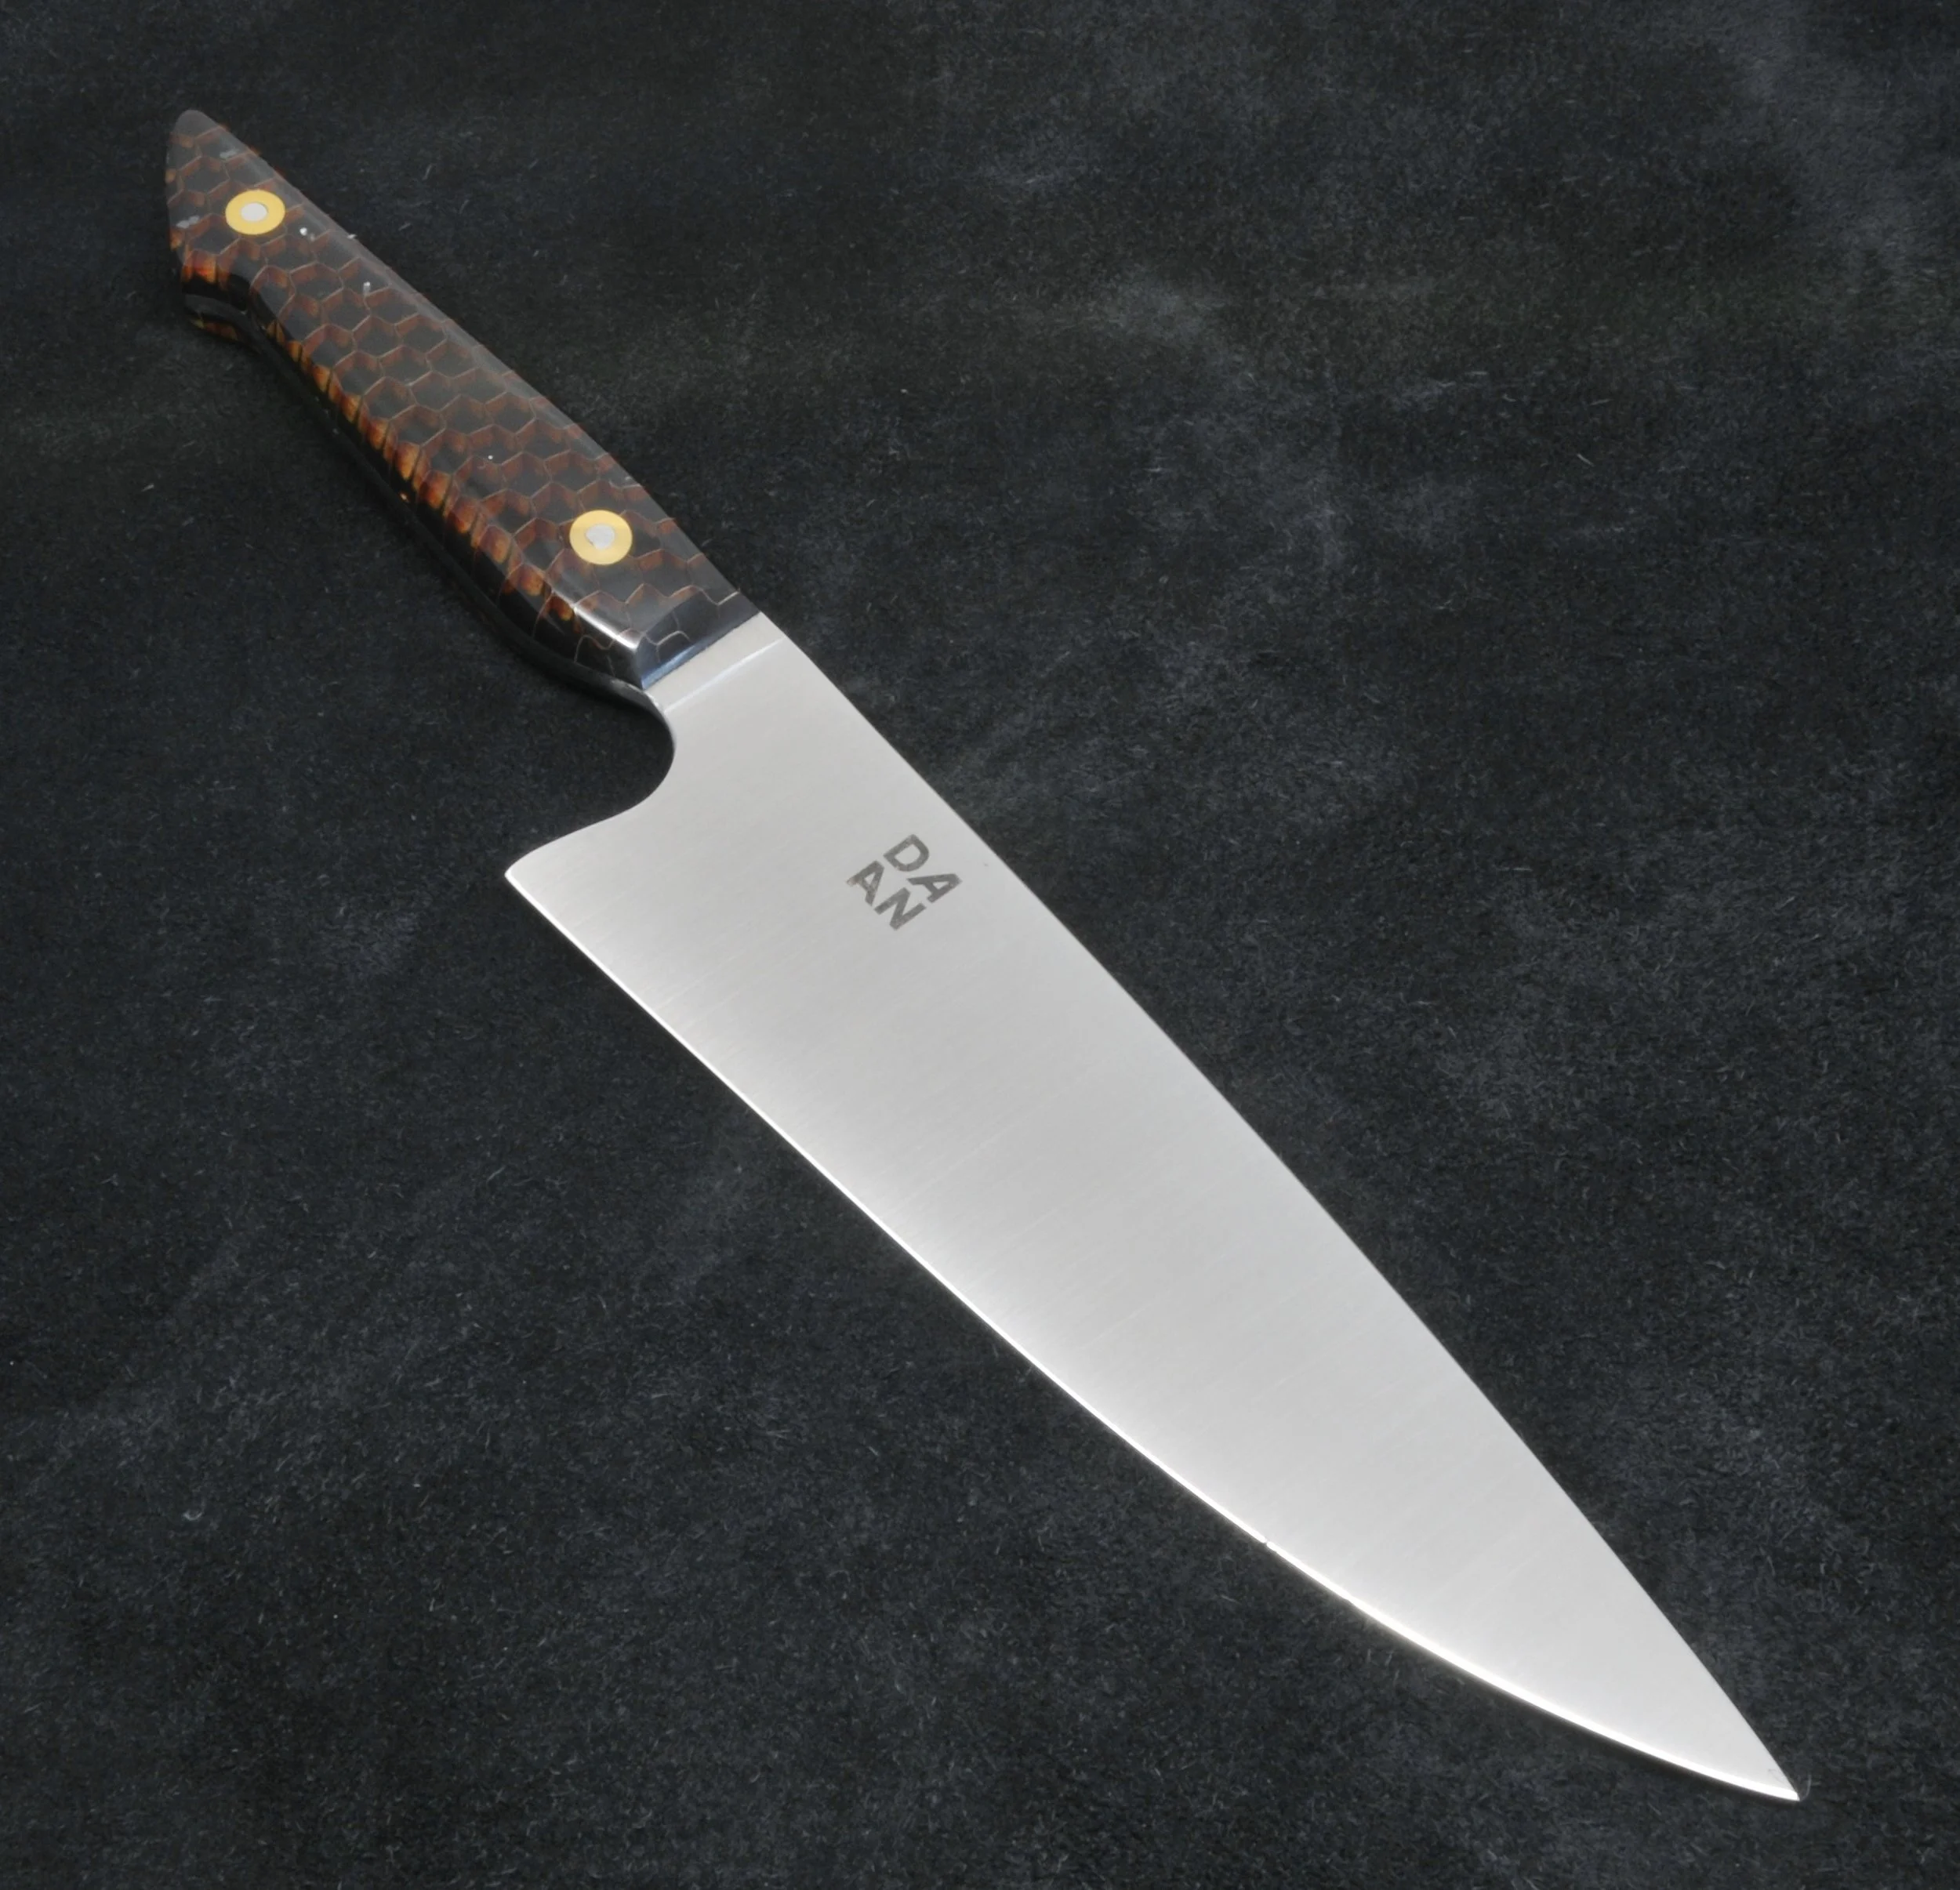
That’s a knife